I was at Kuma's Corner this afternoon (we were in Chicago and Erin had never been to Kuma's, so we decided to grindcore off our hangover) and, completely on a lark, threw together the world's best condiment...
Sriracha ketchup.
Start with ketchup. Add sriracha hot sauce to taste. I liked it at about a 10:1 ketchup-to-sriracha ratio.
It's that easy, and it's mind blowing. Sriracha by itself is a fantastic condiment compliment for just about anything you would contemplate adding hot sauce to. It also makes a good addition to mustard, but sriracha ketchup trumps them all.
Do it now.
(Also, it should be noted that we got an Iron Maiden, a Motorhead, a Neurosis, and mac 'n'cheese for lunch.)
Sunday, December 13, 2009
great condiment... or the *greatest* condiment?
Posted by Justin at 11:19 PM 2 comments
Labels: condiments, how to, ketchup, simple, spicy
Thursday, November 26, 2009
TurkeyFest '09
I've been away from the blog for a little while, so I decided to come back with something truly stupendous...
Shortly after moving to Columbus five years ago, I started cooking a Thanksgiving dinner for my friends. The inaugural event happened to fall on the same day as the Ohio State vs. Michigan football game, which would ensure that only the most devoted of my friends would attend. That game almost always falls on the Saturday before Thanksgiving, which also thinned out the crowd, as many wondered why they should get their turkey fix now, when they can just have mom's turkey five days later. The solution to raise interest in the plan was to set a food theme for the party; in this case, it was "Warped" Thanksgiving: Cajun-pepper roasted turkey, green-bean-casserole-stuffed mushrooms, sweet potato fries, cranberry chutney... you get the idea. Dinner was a great success, and nobody left my house hungry.
The next year's theme was "Indian (not Indian)" Thanksgiving: Tandoori turkeys (two, as word of mouth spread from the year before), fried sweet potatoes with yogurt-coconut sauce, potato curry, cranberry chutney (again), and some other stuff with names I can't remember. This all went over quite well, and was actually my first real foray into Indian cooking. I have never used so much garam masala and turmeric in my life.
Then, for a couple of years nothing happened. I made a relatively traditional turkey dinner last year for my housemates, but didn't make a big deal out of it. I desperately needed to make a big deal out of something this year, so I hatched a plan to cook three turkeys: one deep-fried in peanut oil (a staple at my father's Thanksgiving), one smoked with apple wood (because, c'mon, smoked turkey is delicious), and one Cajun-pepper roasted like the very first bird I ever made. And so, TurkeyFest '09 was born...
Early in the morning, I set up the smoker and the deep fryer. I planned to have dinner served at 4pm, so I had to awake at the asscrack of dawn to get that smoker fired up. Luckily, she's an electric, which decreases the cooking time. 6 hours for a 13-pound bird worked perfectly.
225 degrees, the magic number for authentic barbecue. Slow cooking over a long period of time makes meat tender and moist.
Here's what the smoked bird looked like at about 5 hours in. Yum!

Giving some of the attendees a peek (and a whiff) at the roaster.

This bastard is stuffed to the gills with butter, hot peppers, onions, and garlic, and rubbed down with cayenne pepper and salt. The pan drippings from this bird are damn hot!
Posted by Justin at 1:23 AM 2 comments
Labels: bbq, fried, spicy, Thanksgiving, turkey
Thursday, September 10, 2009
Chili School
Every fall, I find myself inundated with fresh vegetables, and invariably some of them go to waste because, seriously, what am I supposed to do with 15 zucchini, Mom? Enter chili, the harvest stew of the gods...
Chili is pretty much omnipresent come autumn, and for good reasons: it's simple to make, it's cheap, and it's delicious. Everybody has their own chili method and everybody will claim that theirs is the best, hence the invention of the chili cook-off. The big, dirty secret is that chili is a lot like pizza: it's pretty much always good, no matter what you do to it.
I don't want to get into all the rhetoric that goes along with chili. The Texas purists (dare I call them "puritans") will tell you that chili with beans is called "bean soup," not chili. To hell with that; try as you might, you're probably not going to fuck up your chili. All these rules were meant to be broken, but it is a good idea to have a solid grounding in what makes a good chili before you go overboard with your special recipe.
Anything that wishes to be called chili con carne will require these 3 things:
Meat. Carne. You can use pretty much anything you want. Beef (as pictured above) is probably the most popular, but plenty of great chilis have been made with pork, lamb, chicken, turkey or even game/roadkill meats like venison, rabbit, or squirrel. Generally, the cheaper the better: tougher cuts respond better to slow stewing than tender cuts. Also, don't be afraid to mix meats for interesting flavor combinations.
One big question is whether to use ground meat or small chunks. Either way is fine: it basically just becomes a texture question once you get to the finished product. I actually like to use both in the same stew.
Chili peppers. People can get really intimidated by this part, especially if they're afraid of hot peppers. You can use dried ground powder, but having big chunks of peppers in your chili is just a lot more visually and texturally appealing. And you don't have to use super hot peppers: the poblano (also called ancho when dried) is a great flavorful option that isn't too hot. Red and orange bell peppers can give you a nice sweetness and depth of flavor. Personally, I like really spicy chili, and I had just happened to come across some garden-fresh habanero, jalapeno, and cayenne peppers (seen above).
Secret hobo spices. You can really use just about anything to get a unique flavor out of your chili. Those puritans will tell you that a pre-made chili powder is cheating, but I find it to be a good starting point; you can always add flavors to suit your specific taste. Pretty much every pre-made chili powder is going to include dried ground chiles, cumin, oregano, garlic powder and salt. That's an acceptable base, but creativity is king when it comes to chili: don't be afraid to experiment. Chili is all about combinations of flavors, so play with sweets (sugar, fruits, chocolate), tarts (vinegar, hot sauce, beer), salts and savories.
So now I'm going to walk you through how to make a batch of traditional Texas red chili con carne. This recipe is probably different from anything you've been offered before, as it contains not only no beans, but also no tomatoes. It's amazingly simple and delicious. C'mon, let's go!
First, chop your meat into small chunks, about the size of a pecan. I'm using stew beef, usually cut from the shank, plate or brisket. These are tough cuts that generally aren't good for much else besides stewing. You'll want to use about 1 pound of meat for every quart of chili you want at the end.
Sear your beef until it turns slightly brown on the outside. The insides will still be raw, but don't worry: they'll cook through in the stewing process.
Add your ground beef and mix it well. I like to use ground beef because it's generally fattier and releases more beef flavor into the mix than chunks alone. Traditional chili recipes call for suet (raw beef fat), but I find this to be a better alternative.

Once you've got some fat in the bottom of the pot, add your peppers and saute them lightly, just enough to release their oils into the meat mix. I put an onion in here too, though it's considered to be a filler ingredient by those Texas chili snobs. I like onion. Fuck 'em.

Garlic time. Same deal as with the peppers, lightly saute to release its essence. I like a lot of garlic in my chili: I'll probably use 1.5-2 cloves per pound of meat.

Add spices. The biggest key here is to remember that the only way to "un-hot" chili is to dilute it, which will mess with your consistency and texture. You can start light and add more spices as you go. I'm making 3 quarts of chili, so I started with 4 teaspoons of chili powder, 1 teaspoon of salt, 1 teaspoon of cumin, 1 teaspoon of oregano, 1 teaspoon of cayenne, and a jigger of hot sauce. Remember, I like it spicy, so these measurements might be too much for you, lightweight...

You'll need to add some fluid to stew all these ingredients in. Water is commonly used and will do just fine. For this batch, I used a 12 oz. bottle of beer. I wouldn't use anything too fancy: really hoppy beers will just make your chili bitter. A good old American lawnmower lager like Budweiser is just fine.

Simmer that mixture for a while. The longer the better, but at least 2.5 hours or until the meat chunks are cooked through. Don't let the mix boil, or else your meat will get rubbery. Stir it and taste it occasionally. Add spices if necessary. I like to counterbalance the hot spice with sweetness. Brown sugar or molasses are nice. Agave syrup might rock your world.

Toward the end of the stew, you'll probably want to thicken the mixture up. Lots of ways to do this (including crushed tortilla chips), but the traditional way is to add masa (corn meal flour). This works the same way as making gravy: add masa a little bit at a time and let it simmer in. The flour particles will thicken as they heat. Don't add too much or else you'll have chili paste and you'll have to dilute it with water.
THE MOST IMPORTANT PART:

Make your self some cornbread. Chili's perfect compliment. Sweet starch to partner with your spicy stew.
Posted by Justin at 10:40 PM 5 comments
Labels: cheap, chili, food culture, recipe, spicy
Thursday, June 18, 2009
LOOKOUT COOKOUT!!!
As promised, here are photos from my Memorial Day cookout (thanks Nick):
I made 1/3-pound burgers with sauteed onions, red bell peppers and celery mixed in the meat.
For the not meat-eaters, portabello mushroom caps marinated in balsamic vinegar and topped with the aforementioned onions, red peppers and celery, with a sprinkle of asiago cheese.
I'll claim it was for proper heat distribution, but I really just wanted to make a pentagram out of meat.
Don't call me "tater salad." I bite. (This particular potato salad is seasoned nicely with cayenne pepper to make the flavor explode on your tongue. That's what she said.)
Real Boston baked beans, made from scratch. Wicked delish.
Here's some of the other food that people made/brought. Those are Erin's fruit kabobs on the left: not sure why we didn't grill any of those. Those are Nick's Oatmeal Creme Starcrunch Pies in the front under glass. Holy heart attack...
If you were here, this plate might've been yours. Those peppers and onions on the dog and burger were fried in bacon grease for extra flavor...
The cook finally gets to eat. Hooray! Can't wait for the 4th of July to do it all over again.
Posted by Justin at 10:59 AM 1 comments
Labels: beans, cheese burgers, cookout, hot dogs, joy, spicy, vegetarian
Saturday, June 6, 2009
A Food Stuff I Can't Live Without
nataliedee.com
Posted by Lucé at 7:26 PM 1 comments
Labels: condiments, ketchup, lazy, spicy
Tuesday, May 12, 2009
Easy Vegan Indian Food in 20 minutes or Less (Depending on the Suckitude of Your Stove)
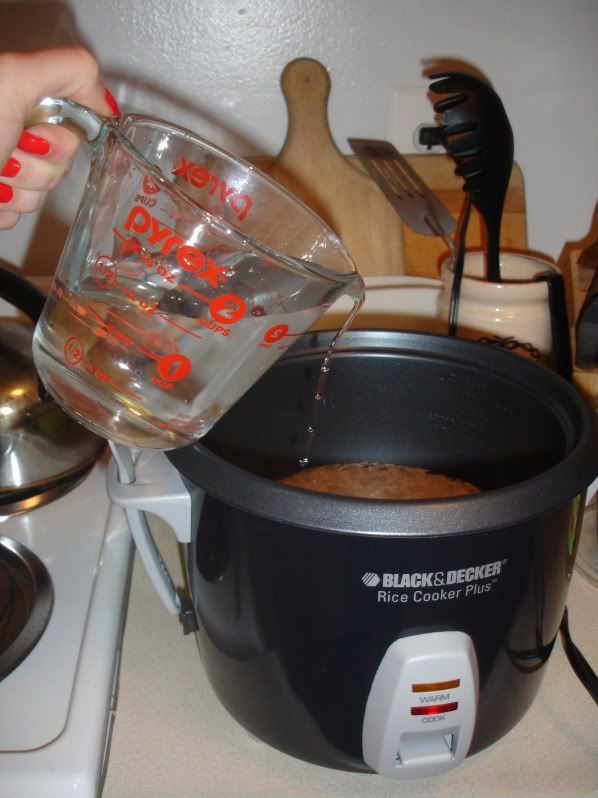
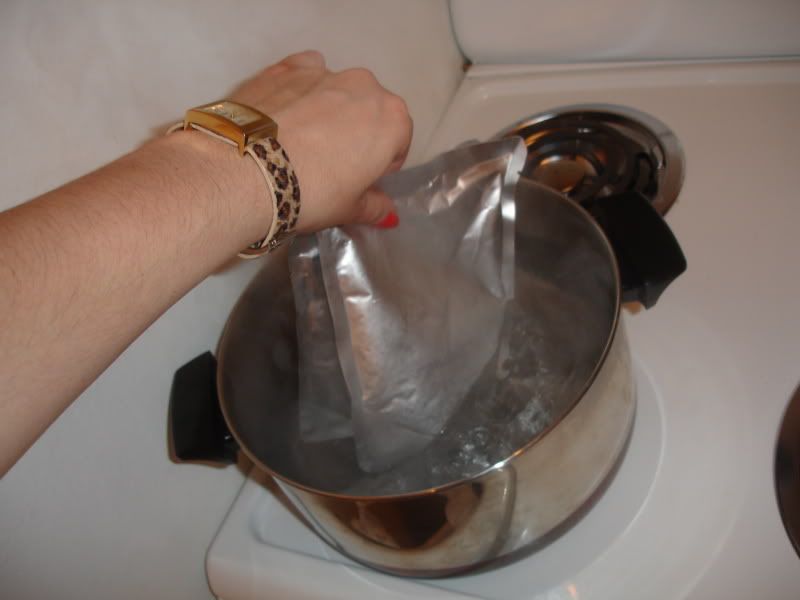
I just moved into a new apartment. It's got everything I want (two bedrooms, hardwood floors, ceiling fans) and one thing I really effing hate: an electric stove. These stoves are crap because they make it overly hard to shift the temperature, or be precise about anything. Also, the burners stay hot long after they get turned off, which is bad for kitty paws that like to hop up when no body is looking. But despite these disadvantages, I was able to cook a pretty quick and delicious Indian dinner for two last night.
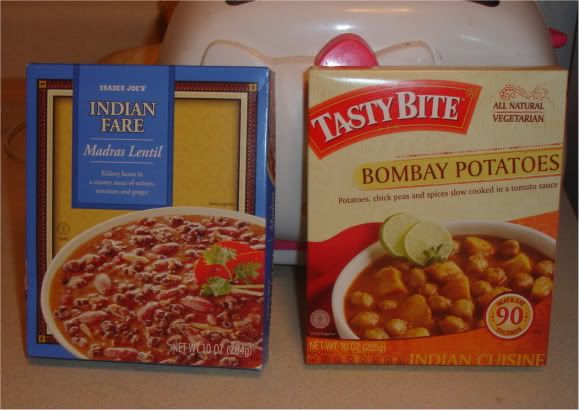
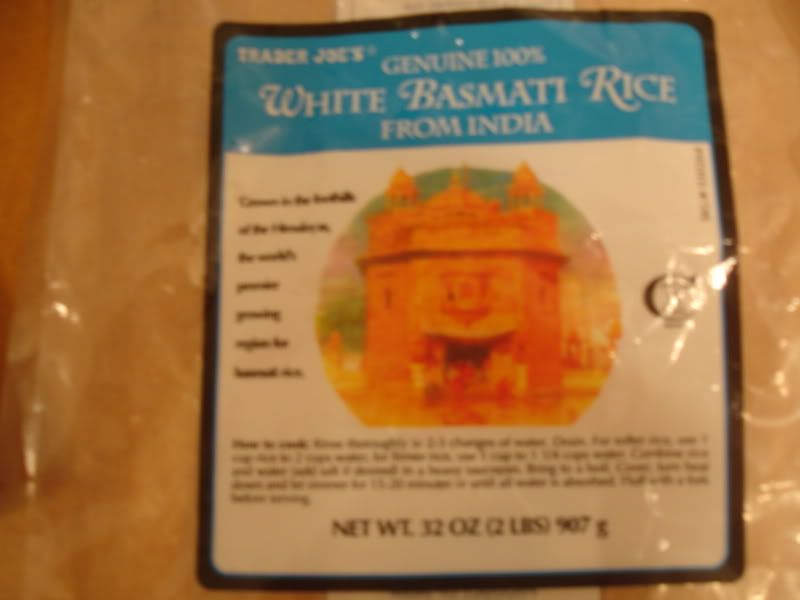
I bought two different dishes from separate companies to compare. Trader Joe's Indian Fare "Madras Lentil" and Tasty Bite "Bombay Potatoes." Both are vegan and are about three bucks. The latter was bought at a Giant grocery store, and I assume it can be found in other such places (Meijer, Kroger, Hy-Vee, Safeway, Giant Eagle, etc.). I also bought Trader Joe's White Basmati Rice for around three dollars. You can definitely make Indian dishes with regular rice, but the taste and texture won't be quite as authentic.
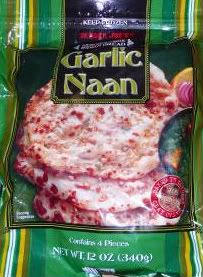
I also recommend Trader Joe's Garlic Naan (for dippin'), though my sheckles are lacking and that was one three dollar purchase too many for this meal...I'm going for meager chic here.
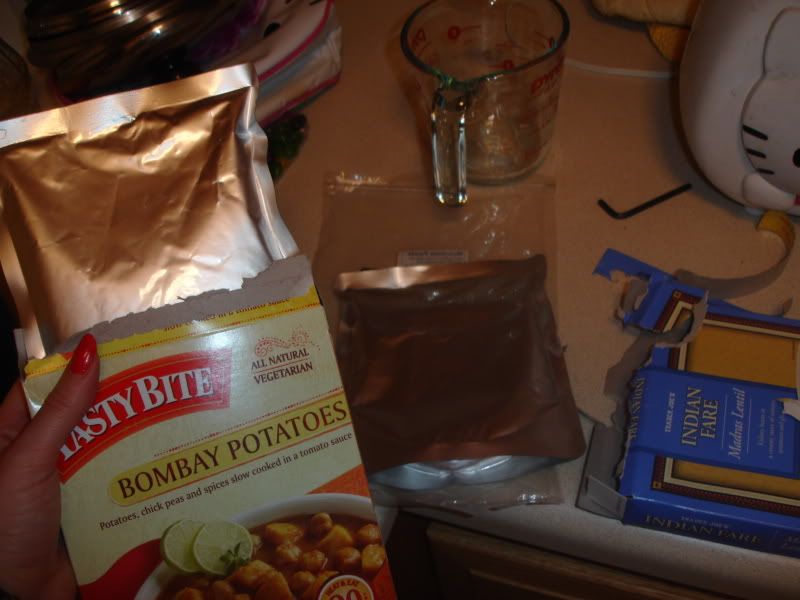
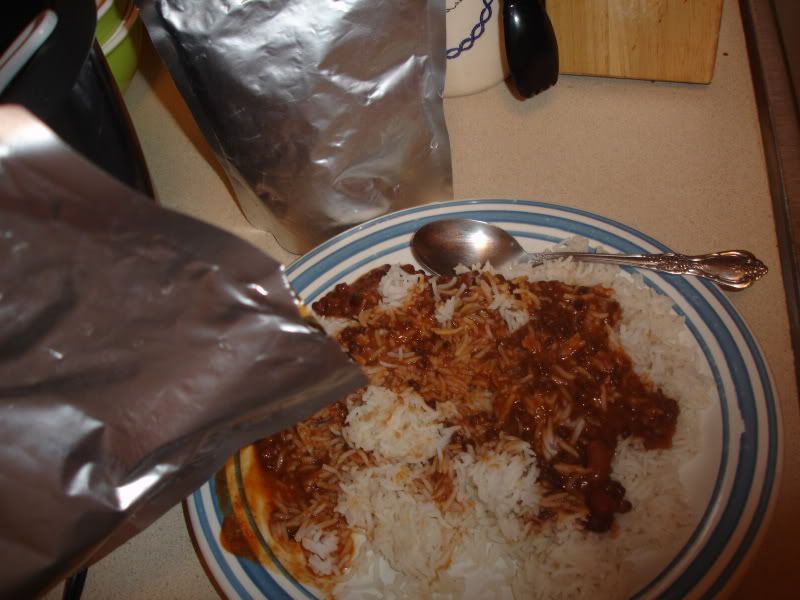
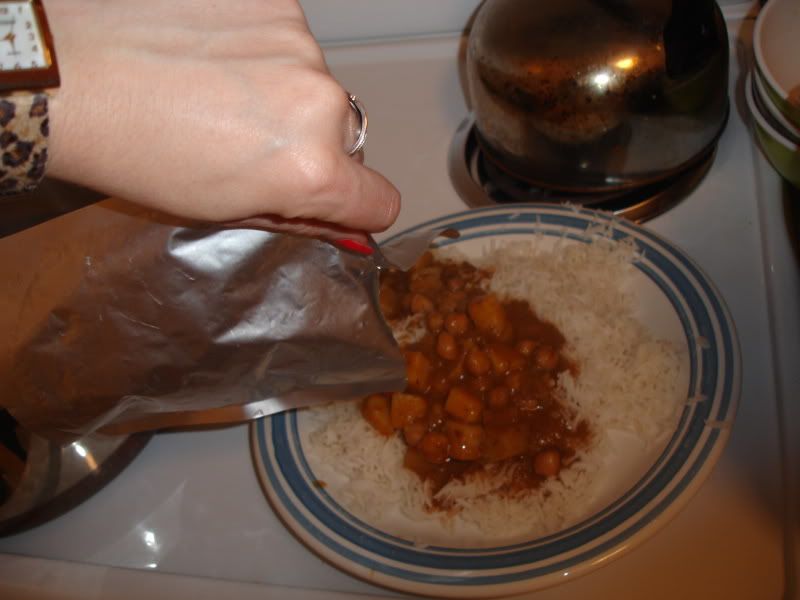
Once the cooking magic is done, grab the packets out with some kind of tongs, because they are hot and not above burning the shit out of you. Then rip 'em open by the convenient slit at the top, and dump them on the rice I'll assume you already smartly distributed on your plates. Then it'll look like something not wildly beautiful, but pretty fucking delectable (see below).
The lentil one is on the top and the potato one is on the bottom. The lentil one is much more mild, while the potatoes are spicy spicy, too much for my wimpy palate. Also, if you're into texture, the lentil one is pretty runny, and soaks into the rice right away, while the potato one lingers a bit more in it's chunkiness. All in all, it's a pretty great dinner for two. It's yummy, under 10 bucks, and it'll be cooked in less time than it takes to watch another That 70's Show rerun.
Posted by Lucé at 5:00 PM 2 comments
Labels: easy Meals, how to, indian, lentils, meals on a budget, naan, potatoes, quick meals, rice, spicy, suggestions, tips, trader joe's, vegan


